Dakgangjeong: The Korean Crispy Chicken That Earns Its Glaze
Shatteringly crisp, lacquered in a soy-honey-garlic glaze that clings without going soggy — this is the Korean fried chicken your family will ask for every single weekend.
 Dan Cooks7 min readPrint this post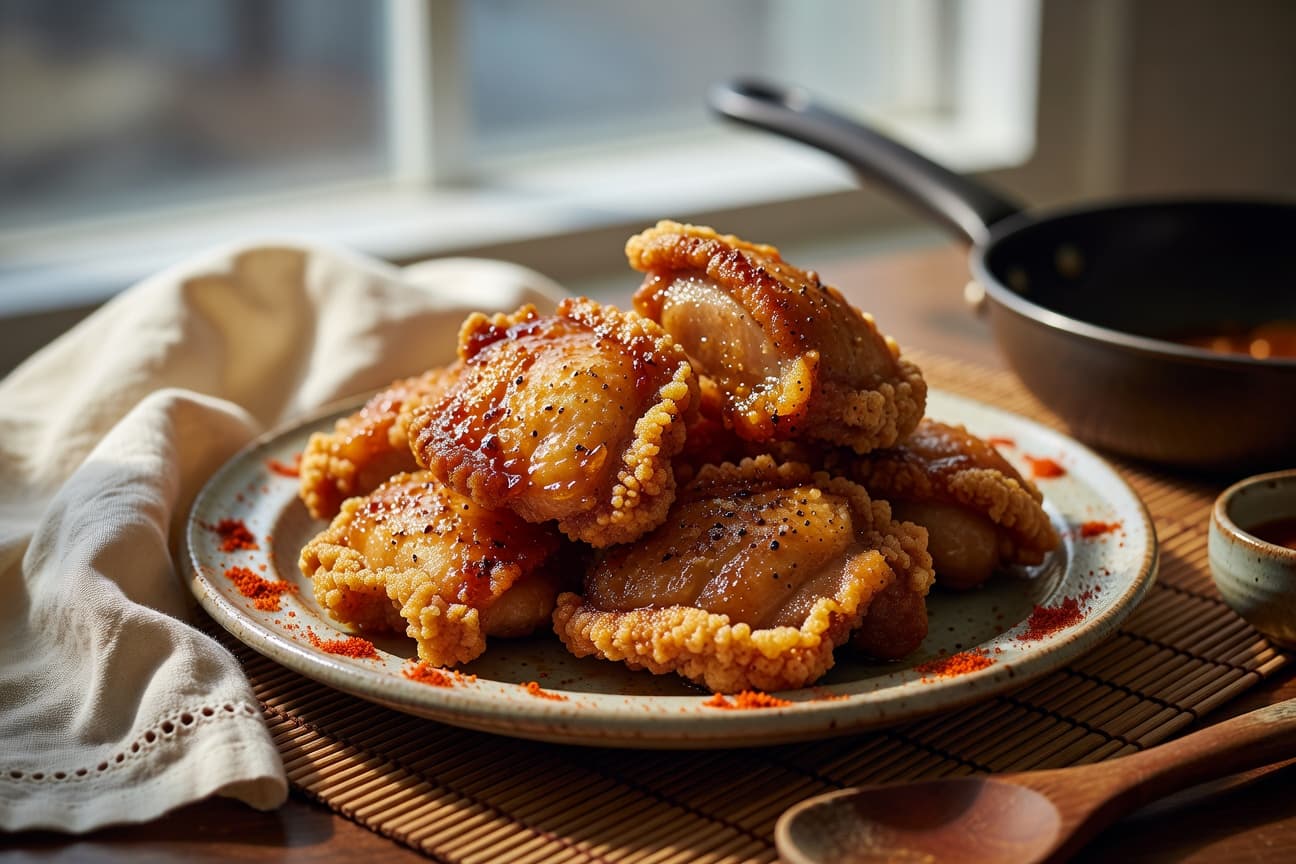
The glaze is the easy part — the crust is where this dish lives or dies.
I grew up around Southern fried chicken — that deep, crackling crust that my grandmother Hellon pulled out of the cast iron like it was nothing. So when I first ran into Dakgangjeong, Korea's answer to crispy glazed chicken, I felt something familiar in it. Same respect for the fry. Same love for bold seasoning. But then that soy-honey-garlic glaze hits, and suddenly you're somewhere else entirely — somewhere smoky and sweet and a little bit addictive. My family doesn't let me make this without doubling the batch anymore. One pound disappears before I even get the sesame seeds on the table. That's the kind of recipe this is — the kind that earns a permanent spot in your rotation after the very first bite.
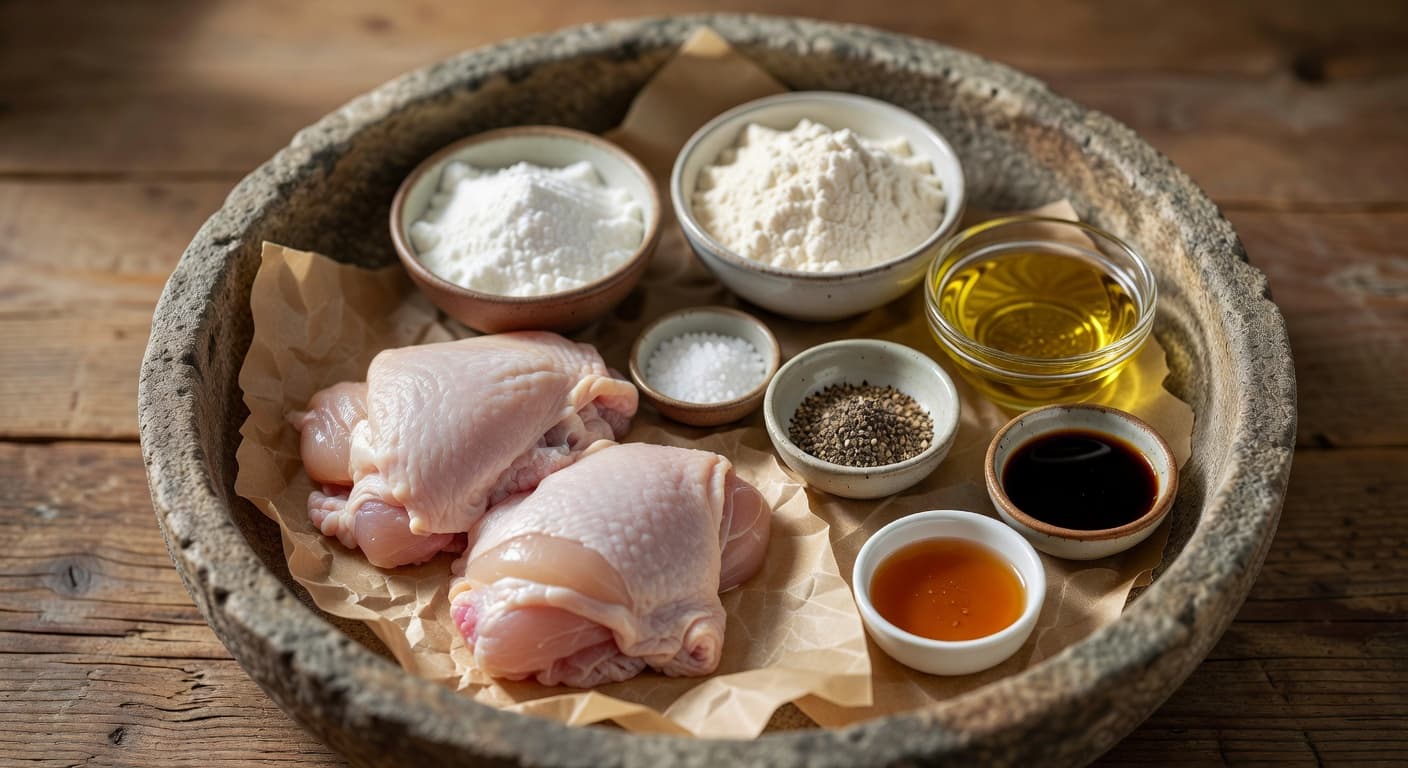
20 minutes, and you’re ready to cook.
Mise en place is everything here. Get your chicken dry, your glaze measured, and your oil ready before you turn on a single burner. Twenty minutes of prep saves you from scrambling mid-fry.
- Gather EquipmentGather a large deep pan or wok, small saucepan, shallow bowl, large mixing bowl, paper towel-lined plate, paper towels, meat thermometer, instant-read thermometer, whisk, wooden spoon or spatula, tongs, and a serving platter or bowls.
- Prepare the Chicken ThighsPat the chicken thighs dry with paper towels, removing all surface moisture. Cut into bite-sized pieces (roughly 1.5–2 inches). Set aside on a clean plate.5 min
- Measure the Dry CoatingIn a shallow bowl, whisk together ⅓ cup cornstarch, 2 tbsp all-purpose flour, ½ tsp salt, and ¼ tsp black pepper until evenly combined.1 min
- Prepare the GarlicPeel 5 cloves of garlic and mince finely. Measure out about 1.5 tbsp minced garlic and place in a small prep container.2 min
- Prepare the GingerPeel fresh ginger and mince finely — you'll need about 1 tbsp. Place in a small prep container.2 min
- Prepare the ScallionsTrim the root ends and dark green tops from 2 scallions. Slice thinly on the bias into ¼-inch pieces. Place in a small prep container.2 min
- Measure Glaze IngredientsMeasure out 3 tbsp soy sauce, 2 tbsp honey, ½ tsp sesame oil, 1 tbsp rice vinegar, and ¼ tsp red pepper flakes into separate small containers or bowls for easy access during cooking.2 min
- Measure the Vegetable Oil and Sesame SeedsMeasure out 2 cups vegetable oil into a container near the stove. Measure out 1 tbsp sesame seeds into a small bowl.1 min
- Stage IngredientsArrange all prepped ingredients near the stove in cooking order: the dried chicken pieces, the shallow bowl with the dry coating mixture, the vegetable oil, the small saucepan, the glaze ingredients (soy sauce, honey, minced garlic, minced ginger, red pepper flakes, rice vinegar, sesame oil), the large mixing bowl, the sesame seeds, and the sliced scallions. Have the paper towel-lined plate and serving platter ready.
The Crust Is the Whole Game
Here's the thing about Dakgangjeong that most people get wrong: they focus on the glaze and treat the crust like an afterthought. But the crust is what makes the glaze work. You need cornstarch and all-purpose flour together — cornstarch gives you that hard, almost shattery exterior, while the flour adds the structural backbone that keeps it from crumbling when the glaze hits. Use one without the other and you get a weaker result every time. Beyond the coating, there are two non-negotiables: dry chicken and hot oil. Pat those thighs completely dry with paper towels before dredging — any surface moisture and you're steaming instead of frying. Get your oil to 350°F and keep it there by working in batches. Crowding the pan drops the temperature and you lose the fry. Take your time. Fry in two or three rounds if you need to. The patience pays off in that golden, crackling crust.
Sourcing: Two Ingredients Worth Getting Right
For the chicken, go with bone-in, skin-on thighs if you can find them — they stay juicier through the fry and give you more margin for error on cook time than breast meat. If you're buying boneless thighs for convenience, that works fine, just cut them into consistent bite-sized pieces so they cook evenly. For the sesame oil, make sure you're grabbing toasted sesame oil, not raw. The toasted version has a deep, nutty, almost roasty quality that's essential to this glaze — raw sesame oil is mild and grassy and won't give you the same finish. It's usually labeled clearly on the bottle, but if you're at an Asian grocery, look for the darker-colored oil.
Tools for this recipe.
Nothing exotic needed here — a wok or deep pan, a thermometer, and tongs are the three things that actually matter. The thermometer is non-negotiable for oil temp.
- wok
- saucepan
- shallow bowl
- large mixing bowl
- instant-read thermometer
- whisk
- wooden spoon
- tongs
- parchment paper
How This Glaze Actually Works
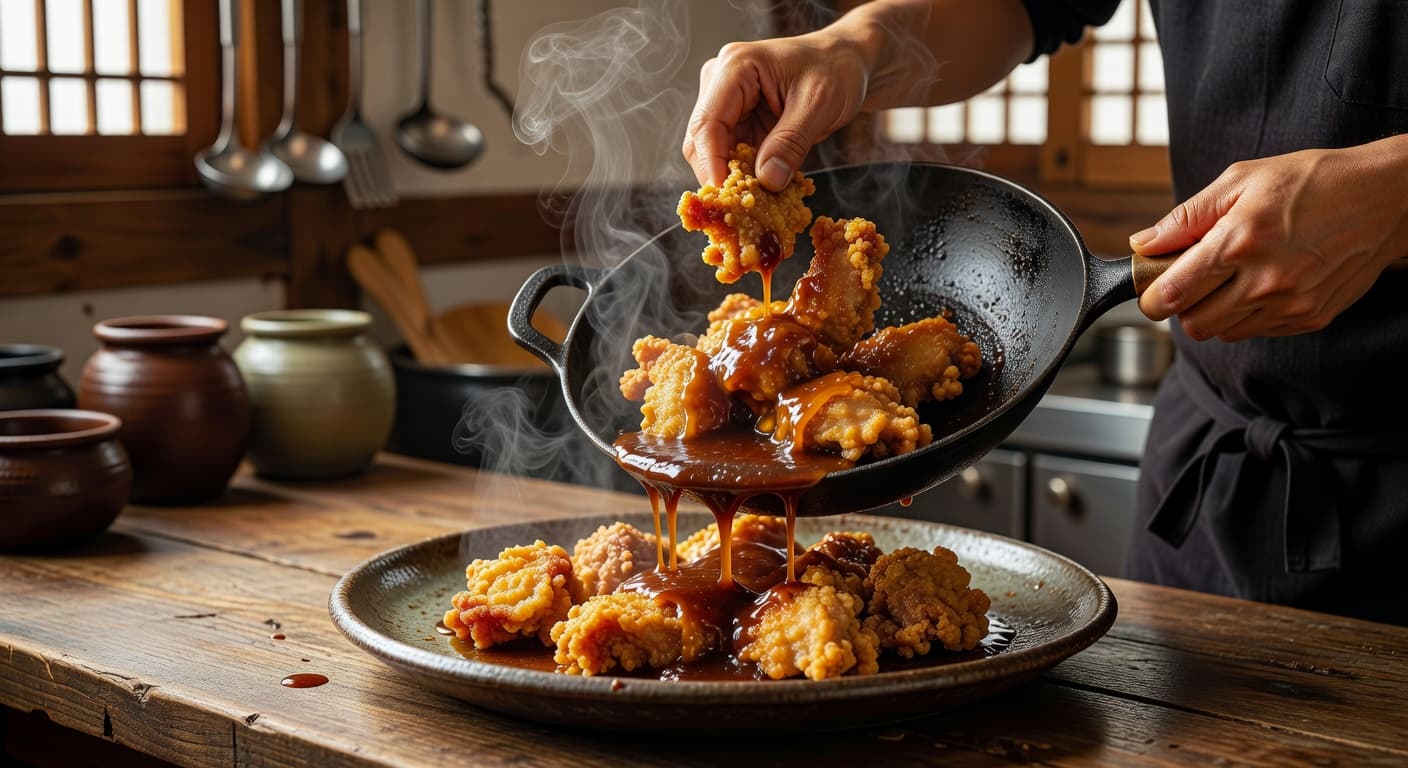
What makes this glaze so addictive is that every ingredient is doing double duty. Soy sauce and garlic are the backbone — both carry that deep, roasty, savory quality that makes the whole thing feel substantial. Honey doesn't share that same aromatic territory; it works on pure contrast — sweet against salty — and that tension is what makes you want another piece. Ginger cuts right through the richness of the fried chicken with a bright, sharp edge that keeps the palate from getting tired. And then sesame oil and sesame seeds close the loop together, adding a nutty, slightly smoky finish that ties everything back to the soy. It's a complete flavor arc in one sauce — and it all happens in about four minutes on the stove.
Substitutions that still taste like the recipe.
Working with what you've got? These are the swaps most likely to keep the dish feeling like itself — ranked by how close they land to the original.
- fish sauce
Shares pyrazine compounds with soy sauce
- liquid aminos↓ savory
Shares pyrazine compounds with soy sauce — less savory
- MSG↓ salty
Shares acid compounds with soy sauce — less salty
- agave nectar
Shares fruity ester compounds with honey
- brown sugar
Shares aldehyde compounds with honey
- sugar
Shares fruity ester compounds with honey
- walnut oil↓ savory
Shares aldehyde compounds with sesame oil — less savory
- olive oil↓ savory
Shares aldehyde compounds with sesame oil — less savory
- peanut oil↓ savory
Shares pyrazine compounds with sesame oil — less savory
- verjuice
Shares acid compounds with rice vinegar
- white wine vinegar
Shares acid compounds with rice vinegar
- tamarind
Shares acid compounds with rice vinegar
Common questions
Can I make this ahead of time?
Can I use chicken breast instead of thighs?
My glaze went thin and watery. What happened?
How do I keep the crust crispy after glazing?
What should I serve alongside this?
This is the kind of dish that makes a regular weeknight feel like an occasion. The fry takes a little patience, the glaze takes four minutes, and the result is something your family is going to talk about at the table. That's the whole point — not perfection, but the memory of a really good meal made with care. The best meals aren't measured by perfection — they're measured by the memories made around the table. Fire up something good tonight.
The Quarterly
Get the next Quarterly from Dan Cooks
Seasonal recipes, notes, and the issue links worth saving.
Comments